Pavo jugoso y tierno

Juicy and Tender Crockpot Turkey

Servings

6-8

Prep Time

25 minutes

Cook Time

20 minutes

Calories

290

Cuisine

American

Category

Main Dish

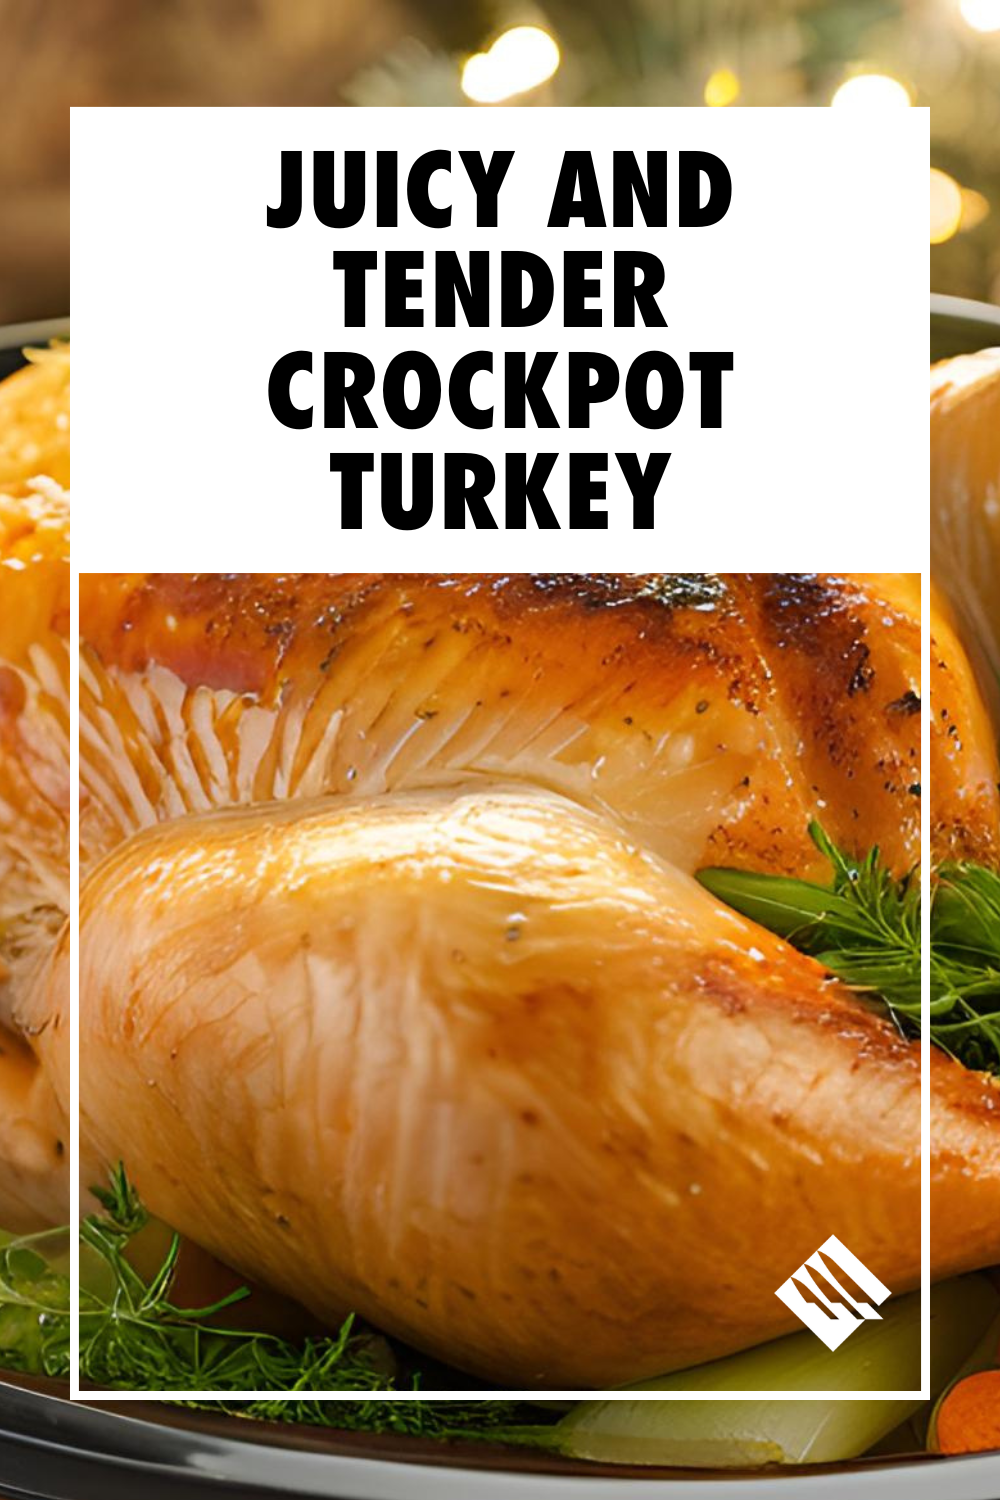
Crockpot Turkey delivers everything you love about a traditional turkey without the hassle of oven-roasting. Slow cooking ensures tender, flavorful meat while maintaining a juicy texture. The vegetables and broth create a natural gravy base that infuses the turkey with even more deliciousness.


Finish the turkey with a quick broil for crispy skin, and serve it alongside the perfectly cooked vegetables for an easy, elegant main dish that’s perfect for holidays or special occasions.

Juicy and Tender Crockpot Turkey

Ingredients

  • 4–6 lb turkey breast (bone-in or boneless)

  • 1/4 cup unsalted butter, softened

  • 2 teaspoons garlic powder

  • 2 teaspoons onion powder

  • 2 teaspoons paprika

  • 1 teaspoon dried thyme

  • 1 teaspoon dried rosemary

  • 1 teaspoon dried sage

  • 1 teaspoon salt

  • 1/2 teaspoon black pepper

  • 1 onion, quartered

  • 2–3 celery stalks, chopped

  • 2 carrots, chopped

  • 4 garlic cloves, smashed

  • 1/2 cup chicken or turkey broth

  • Juice of 1/2 lemon

Directions

  1. Pat the turkey breast dry with paper towels. Gently loosen the skin, creating a pocket between the skin and meat.

  2. In a small bowl, mix the butter with garlic powder, onion powder, paprika, thyme, rosemary, sage, salt, and black pepper.

  3. Spread half the seasoned butter under the skin of the turkey breast, and rub the rest over the surface of the turkey.

  4. Layer the bottom of the crockpot with onion, celery, carrots, and smashed garlic cloves.

  5. Place the turkey breast on top of the vegetables, skin-side up.

  6. Add chicken or turkey broth and lemon juice to the bottom of the crockpot.

  7. Cover and cook on low for 6–7 hours or on high for 3–4 hours, until the internal temperature of the turkey breast reaches 165°F (74°C).

  8. For a golden, crispy skin, transfer the turkey breast to a baking sheet and broil for 5–7 minutes. Keep a close eye to prevent burning.

  9. Let the turkey rest for 10 minutes before slicing. Serve with the vegetables and any drippings for added flavor.

Upgrade Your Kitchen Tools

Make recipe prep easier with professional-grade knives

Browse Collection


Consejos de cocina

  1. Elija el pavo correcto: Una pechuga de pavo más pequeña (4–6 libras) funciona mejor en la mayoría de los olores.
  2. Mantenga la tapa cerrada: Evite abrir la tapa con frecuencia, ya que libera el calor y prolonga el tiempo de cocción.
  3. Variaciones de caldo: Para obtener más sabor, reemplace el caldo de pollo con vino blanco o sidra de manzana.
  4. Opción de piel crujiente: Para una piel más crujiente, ¡no se salte el paso de asado!
  5. Use un termómetro: Asegúrese de que la pechuga de pavo alcance 165 ° F (74 ° C) para carne segura y perfectamente cocinada.


Sugerencias de sugerencias

  • Combina con lados clásicos de Acción de Gracias como puré de papas, judías verdes y salsa de arándano.

  • Use el pavo sobrante en sándwiches, sopas o guisos.

  • Sirva las verduras cocidas como guarnición, rociado con el sabroso caldo.


Preguntas frecuentes

P: ¿Puedo usar un pavo entero en la olla de barro?
A: Una olla es más adecuada para las pechugas de pavo. Si usa un pavo entero, asegúrese de que se ajuste cómodamente y ajuste el tiempo de cocción en consecuencia.

P: ¿Cómo hago el pavo con anticipación?
A: Cocine el pavo el día anterior, guárdelo en sus jugos y vuelva a calentar en la olla de cocción lenta durante 1 a 2 horas antes de servir.

P: ¿Puedo usar pavo congelado?
A: Siempre descongele la pechuga de pavo por completo antes de cocinar para garantizar una cocción uniforme.

P: ¿Cómo hago una salsa de los goteos?
A: Colar los jugos, luego cocer a fuego lento con un roux (mantequilla y harina) hasta que se espese.

P: ¿Puedo omitir la mantequilla?
A: Sí, pero la mantequilla agrega riqueza y ayuda a lograr una piel crujiente. Sustituya el aceite de oliva por una opción más ligera.

Chef's Recommendation

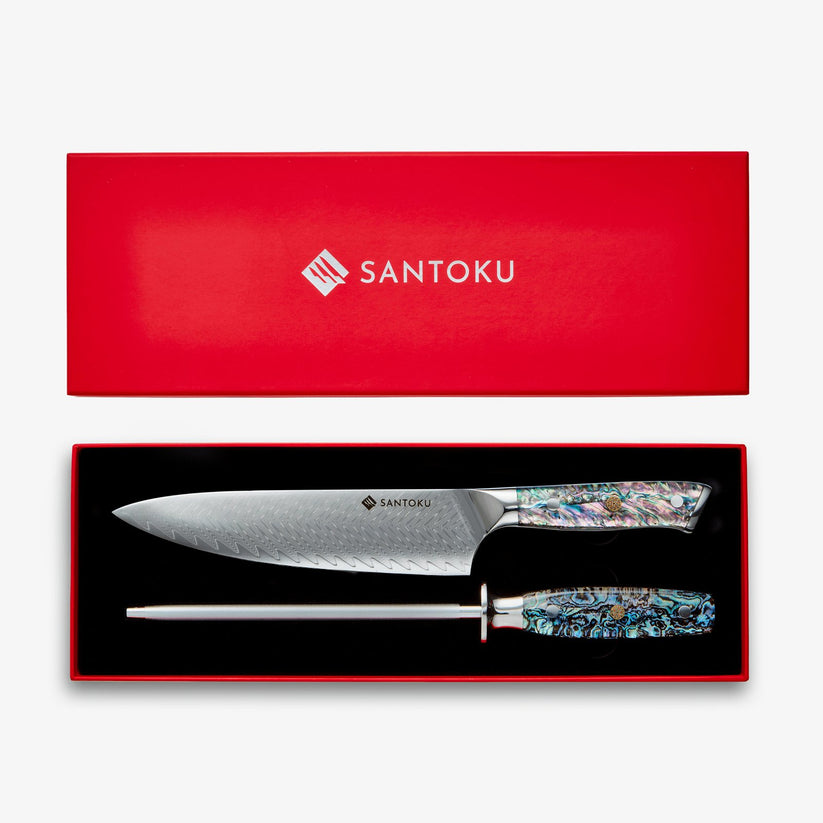
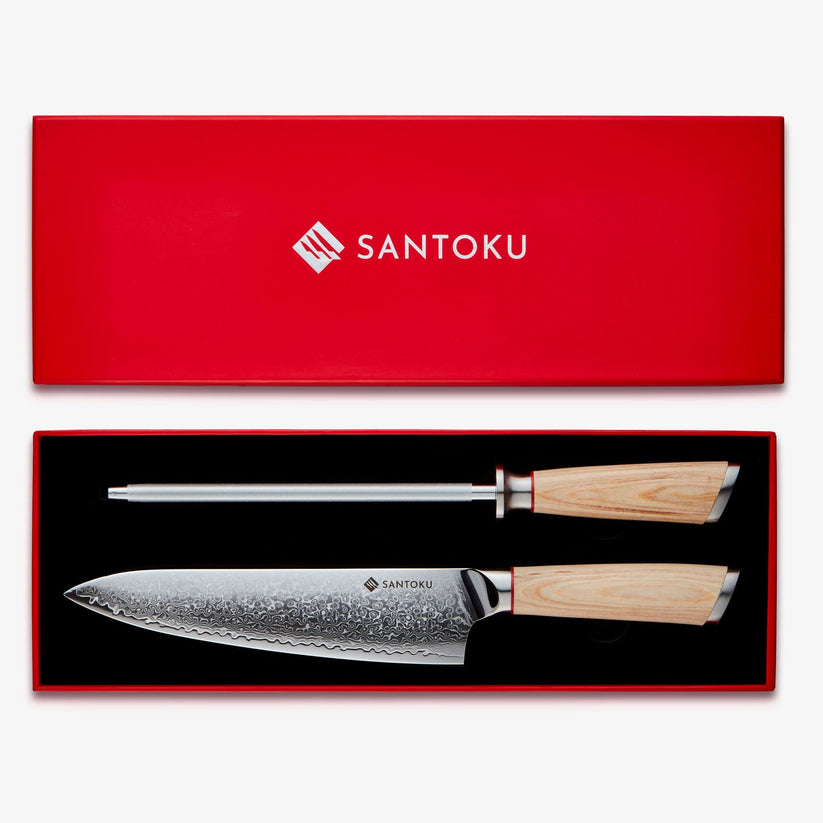
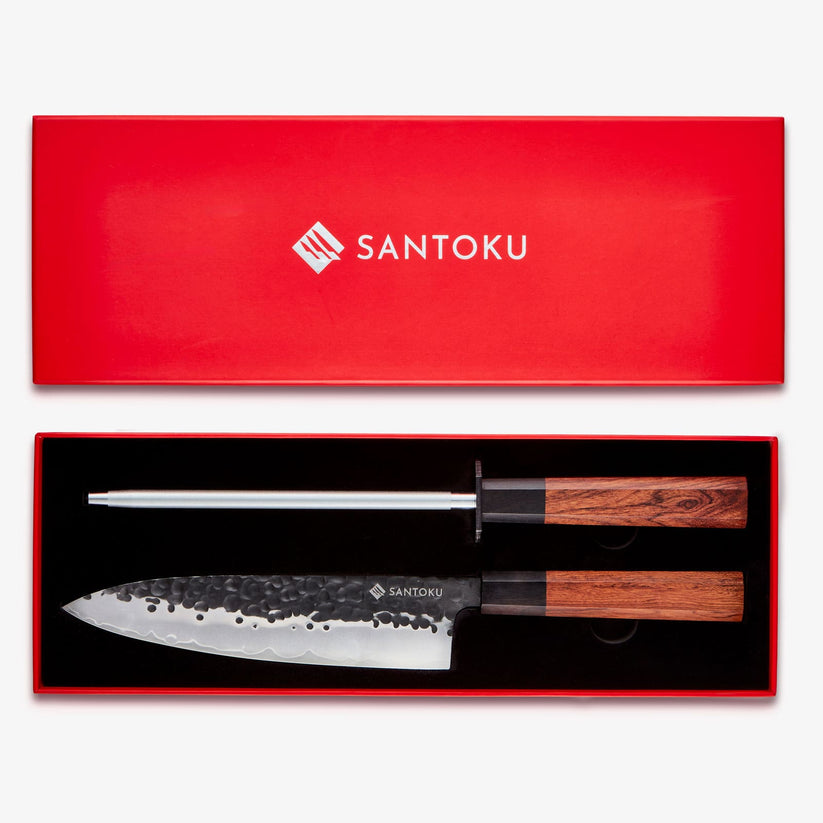
"A sharp knife is your best friend in the kitchen. For recipes like this, I always reach for my Chikashi chef knife - it gives me the control and precision I need for perfect results every time."
Chef's Note: A sharp knife not only makes prep work faster but also safer - dull knives require more pressure and are more likely to slip.

Discover why our Japanese-style knife sets are trusted by home cooks and professionals alike.

Shop Professional Knives →
Volver al blog